

What we will be drawing
Welcome, and thanks for checking out the tutorial on how to draw a cylinder. This tutorial covers some core shading and perspective concepts that will help in other parts of your artwork.
Step 1
The next few steps will be mapping out our underdrawing. This one will be pretty simple, the hard work in the shading part of the tutorial.

Step 2

Step 3

Step 4

Step 5

Step 6
OK so the underdrawing is done, let trace our lines in a nice dark ink and get rid of that underdrawing.

Step 7
Now on the the fun part. We’re going with a bright red for these puppies.

Step 8
We want to remove the line on the back of the cylinder that’s covered by the front.

Step 9
Now let’s lay down a base colour for our cylinder. Choose whatever colour you like for this.

Step 10
Let’s start shading. Add a soft dark shadow the length of the cylinder on the opposite side the light is coming in from.

Step 11
Another smooth gradient shadow on the right side, not as strong as the left.

Step 12
Now a soft highlight along the length of the cylinder to give it a reflective look. Feel free to use a reference drawing to get these shadows and highlights correct, its hard to do just from your imagination!

Step 13

Step 14
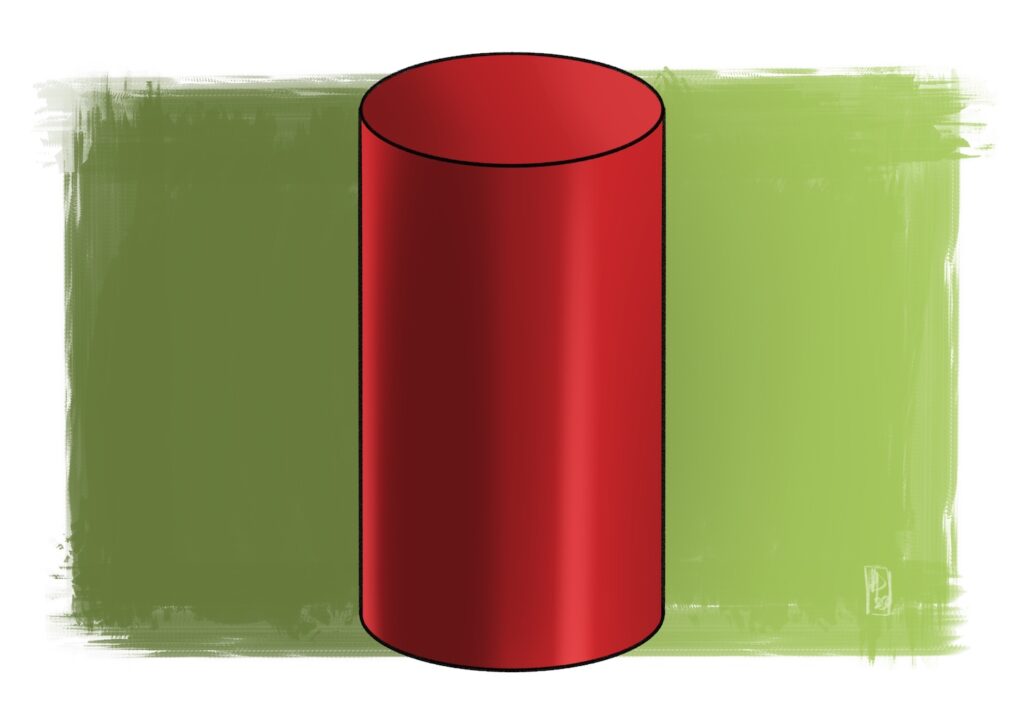
A shadow from the left and some soft light from the right along the top pretty much finishes up our shading.

🎉 Finished Drawing 🎉
Thanks for following along! This wasn’t the most difficult drawing but covered some very important basics in perspective and shading. Thanks for reading and see you in the next one.